

You might know Angi or, its former name, Angie’s List. But have you heard of Angie Hicks?

That’s right, there’s a real Angie behind Angi! That explains its original name of Angie’s List—which was started in 1995 by Hicks as a door-to-door network to collect ratings of local contractors.
Now, Angi is a household name when it comes to online ratings and reviews for local businesses. In fact, being listed on Angi has turned into a must-have marketing strategy for service-based businesses. That’s why we created this guide to help every business out there get onto Angi as we answer questions like:
- What is the Angi business directory?
- What are the benefits of claiming your Angi business listing?
- How can you claim or add your business to Angi?
Let’s get started!
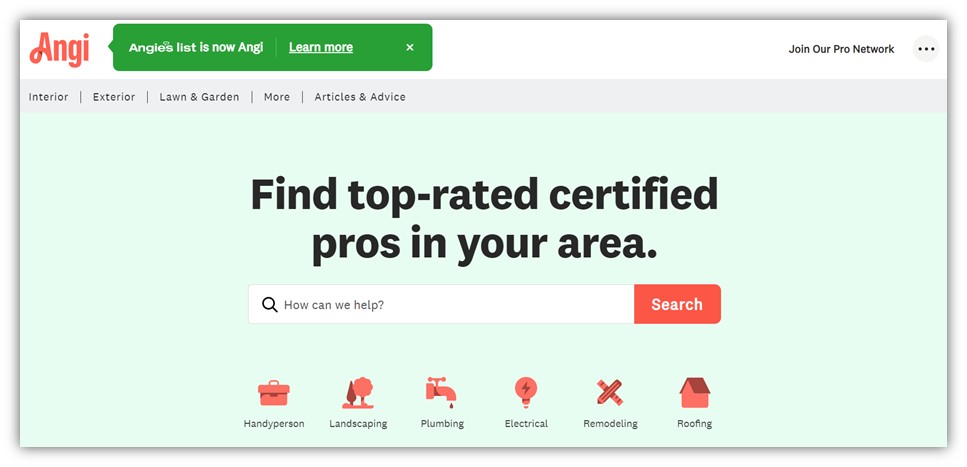
What is the Angi business directory?
Angi, (formerly known as Angie’s List) is an online directory app and website that connects local businesses with potential customers. When your business has an Angi listing, customers can leave reviews for your business, and Angi users can search and find your business to get key information like your phone number, business website link, operating hours, project price estimates, and more.
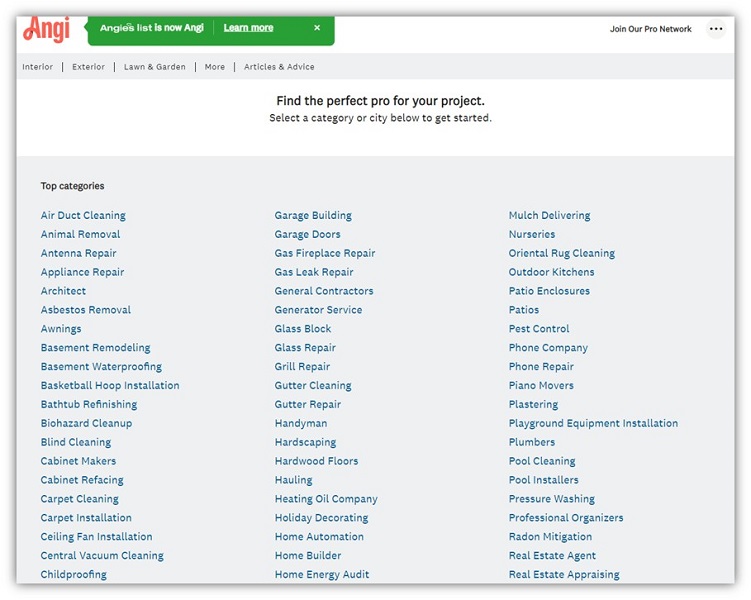
What types of businesses should be on Angi?
While Angi is a known staple listing site for those marketing a home services business, it has over 720 specialty services to choose from including healthcare, automotive, and more. Check out a few of the many category options in this screenshot below:
Benefits of claiming your Angi business listing
What makes a local listing site like Angi so special? We’re glad you asked! Here are a few key benefits of claiming your business on Angi:
Rounds out your business’s online presence
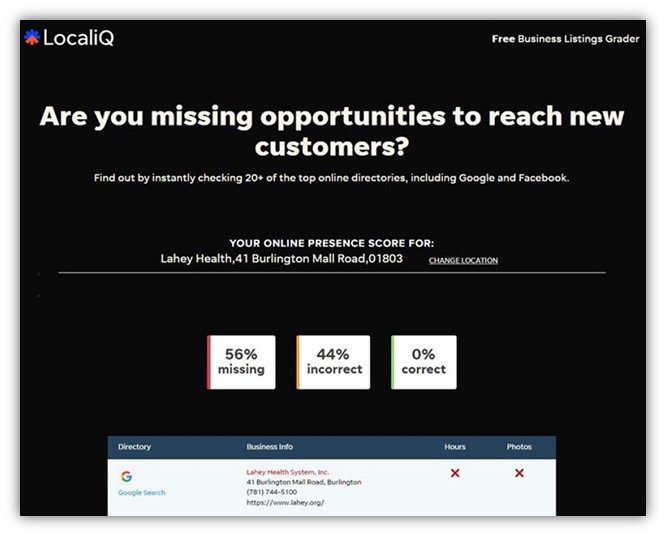
To start, having your business listed on a site like Angi allows you to build a more robust online presence. The stronger your online presence, the easier it is for customers to find you when the time is right.
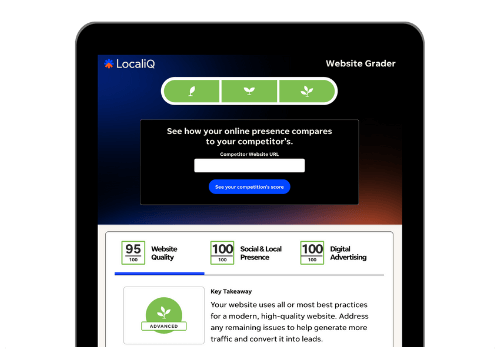
If you’re not sure where your online presence currently stands, try the LocaliQ Free Business Listings Grader to see what sites you might need to optimize.
Helps you get and manage more reviews
One of the most important benefits of Angi is that it allows verified real customers to leave reviews for your business which can help you establish brand credibility. In fact, the likelihood of a business’s product or service being purchased increases by 270% if it has at least five online reviews. Not only that but 93% of people are influenced by online reviews.
Plus, Angi gives you the tools you need to ask for reviews as well as view and manage your current reviews right from your business’s profile.

Puts your ideal customers within reach
With over 7 million monthly users and 150,000 total requests for services (in other words, leads generated), Angi is bound to be a popular resource for members of your target market.
On top of that, there are currently 250,000 businesses already listed on Angi—which means being on Angi gives your business an opportunity to stand out from competitors.

How to add or claim an Angi business listing
Registering your business on Angi is quick and simple with these steps:
1. Navigate to angi.com/app/join/registration
2. Follow the prompt to indicate your primary service and your zip code. Click Get Started.

3. Angi will take you through a promotional slide. For example, it might mention some of its main features or benefits. Simply click Next to continue.
4. Fill out your business’s contact information and click Next.

5. Create your account credentials so you can log back in later to manage your Angi listing.

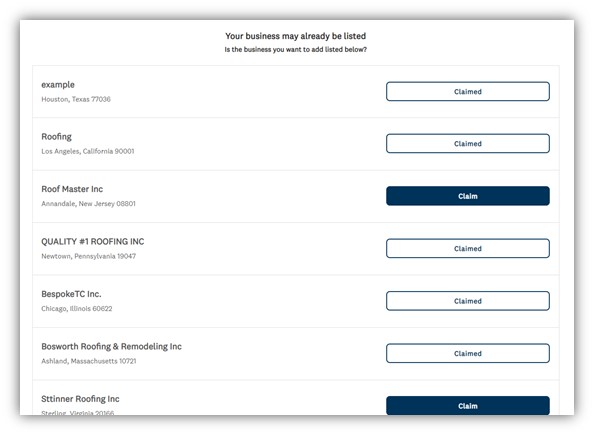
6. Follow the prompts to check to ensure there isn’t an existing listing already in your business’s name. If not, scroll down to click Continue Adding Business.
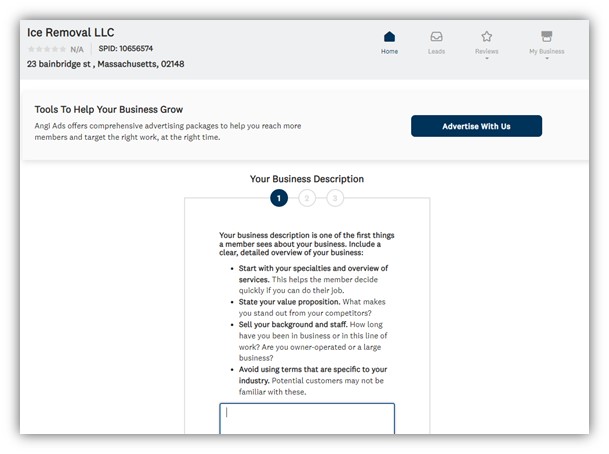
7. You’ll be directed to your new business listing where you can then follow the prompts to complete your setup. You’ll start with your business description.
8. Next, you’ll select your service categories.

9. Lastly, you’ll need to specify the areas you service.

10. Congratulations, you’ve successfully created your Angi business listing! Now, you can start to build out your profile by asking for reviews from customers.

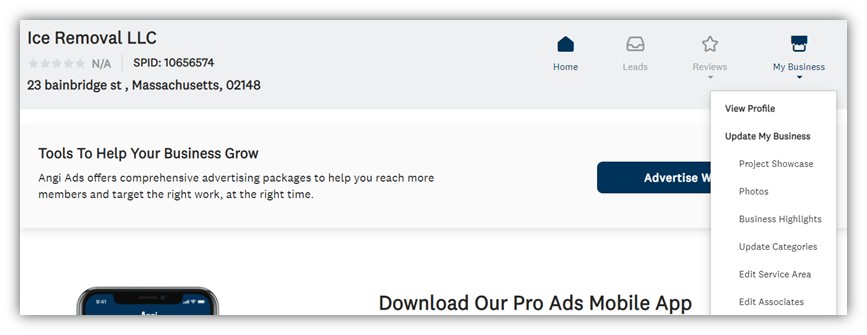
11. Be sure to optimize your Angi business listing by showcasing any top products or services, including any updates under business highlights, adding new categories as your business expands, adding photos, and more.
Claim your Angi business listing today, get found by customers tomorrow
Since getting your business listed on Angi is such a breeze, there’s no reason not to take advantage of this free marketing opportunity! Plus, if you’re ever stuck while managing your Angi listing, see how our listings solution can help you make the most out of your online directories.
To recap, here are the steps to register or claim your business on Angi:
- Navigate to angi.com/app/join/registration
- Follow the prompt to indicate your primary service and your zip code. Click Get Started.
- Angi will take you through a promotional slide. For example, it might mention some of its main features or benefits. Simply click Next to continue on.
- Fill out your business’s contact information and click
- Create your account credentials so you can log back in later to manage your Angi listing.
- Follow the prompts to check to ensure there isn’t an existing listing already in your business’s name. If not, click Continue Adding Business.
- You’ll be directed to your new business listing where you can then follow the prompts to complete your set up. You’ll start with your business description.
- Next, you’ll select your service categories.
- Lastly, you’ll need to specify the areas you service.
- Congratulations, you’ve successfully created your Angi business listing! Now, you can start to build out your profile by asking for reviews from customers.
- Be sure to optimize your Angi business listing by showcasing any top products or services, including any updates under business highlights, add new categories as your business expands, add photos, and more.
Related Articles
-

12 Home Service Promotion Ideas to Build Your Business
-

8 Important Mobile Marketing Trends to Know for 2024
-

How to Respond to Google Reviews (with Examples to Do It Right)
-

How to Add Your Number to the 411 Business Directory (+Other Listings to Reach Customers)
-

Simple & Clear Steps to Add Your Business to Apple Maps in 2024